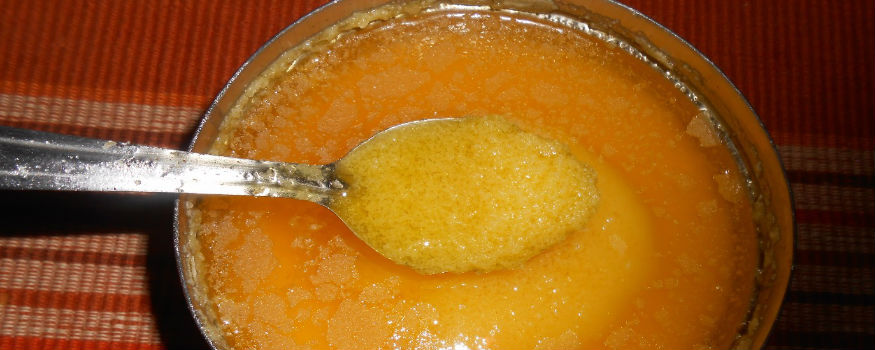
Yes! You read it correct. Today we will share some easy and simple tips to prepare ghee (clarified butter) at home. During our grandparent’s time, when the availability of packaged ghee was limited, preparing it at home was a common tradition. However, now-a-days it’s so easily available and as most fear it to be tedious, the tradition is dying. Before we start with the simple steps, let us share an interesting information with you…
According to an article published in India Today, “ghee that you consume is not being prepared from milk. Rather, it is animal fat, crushed animal bones (to give it that granular texture), palm oil, essence (for the smell) and hazardous chemicals that are being used to prepare ghee.”
However, like most of you, I had not read this news when I had first started preparing ghee at home! The fact was that neither me, nor anyone in my family cherish the malai on the milk and I had to throw it off…that was sad! So, one day I thought let me give it a try and it’s nearly three years now I am enjoying homemade butter/ghee/clarified butter.
If I look back now, I clearly remember how as a child I used to abhor the smell which came from the kitchen during the first few steps. I used to wonder how come these ladies prepare it with so much of dedication. Ever time I used to come for my holidays, either my mom or my aunt had a bottle of ghee ready for me. Neither did they like us consuming purchased ghee, nor did I enjoy it. However, with time, as I got a job and had a family of my own, this practice got lost somewhere. Even I started enjoying the packaged ghee… till the time my kid started consuming food beyond breastmilk.
Like the ‘moms’, my heart too craved to give the best to the kiddo, and I thought to give it a try. Why not prepare at least the things that I can? Why not try till the time I enjoy it?
Let’s Get Started…. With The Preparation Of Our Homemade Ghee/Clarified Butter/Pure Desi Ghee
Storing the malai
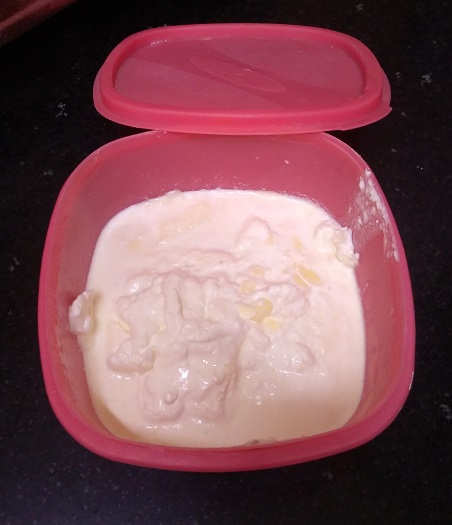
- Take a clean container (with cover), wipe it dry and add 2 spoons of dahi (curd) to it. (Adding dahi was a tip that my grandmother has shared with my mom and she in turn has shared this family trick with me).
- Use a skimmer to take out the malai from the milk (ideally a full fat variety or single toned ones). For better results let the milk stand in fridge for twelve hours after boiling.
- Start storing it in the container.
- You can either keep it in the freezer or normal freeze, but never store it in room temperature or it will get spoilt.
Churning process
- Once you collect a sufficient amount, take it out and let it normalize.
- Keep one litre water in the refrigerator few hours before you start with the process. You will need it for washing the butter.
- Add the stored malai to a mixer, or food processor and whisk until the butter separates from the milk water. (I remember my mother and grandmother doing it with a spatula, now that was tough and time consuming).
Washing the butter
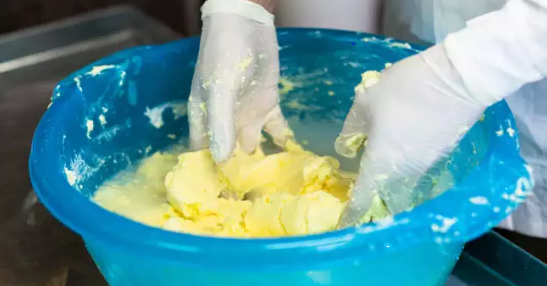
- Take out the butter in a large pan.
- Bring the chilled bottle of one litre water and add it to the butter.
- Wash it mildly for twice with chilled water.
The Last Step
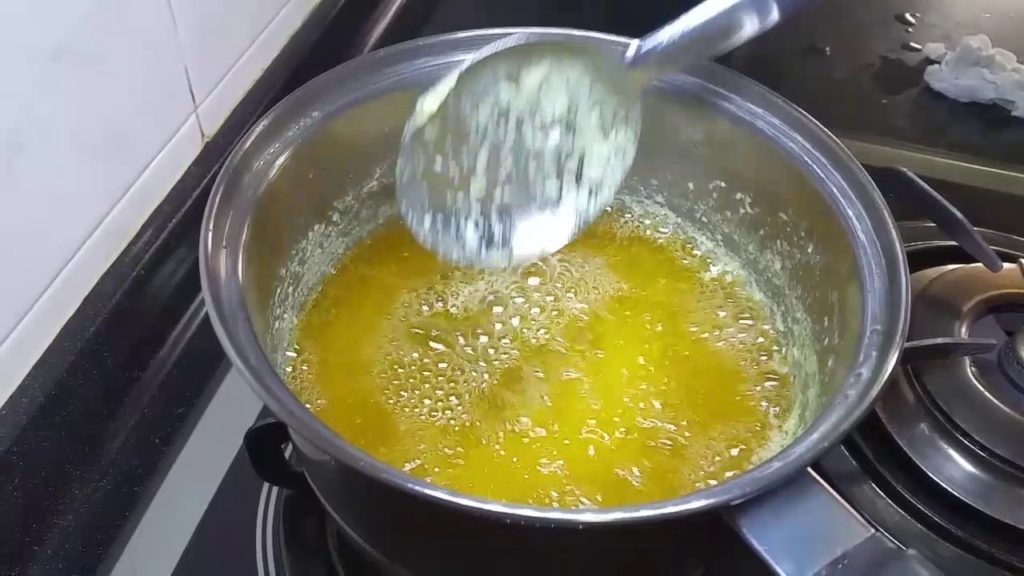
- Add only the butter to a deep bottomed kadai.
- Keep the flame on medium heat.
- Once the butter melts and you see bubbles forming, lower the heat.
- From here you will need to stir it occasionally to minimize wastage. (To keep yourself engaged, you can read a book or listen to music, or catch up with the old friends.)
- Once the colour of the khakee* turns dark brown, switch off the gas.
- Use a strainer to collect the pure ghee.
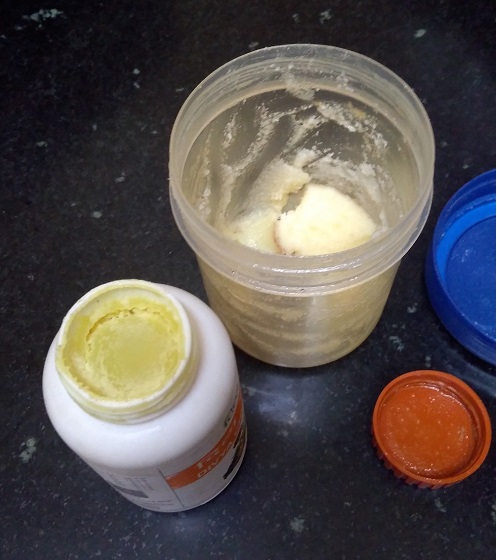
Your ghee is ready! Was it really very tough? Try out and see for yourself. Trust me, the final product is aromatic!
Tips
- Use full cream milk for best malai.
- Do not store the malai for more than 10 to 15 days.
- Now, some fun with the khakee: Add a cup of water to it and boil it for 3-4 minutes on medium or high flame. Take out the water in a container using a strainer and let it stand overnight… See the fun for yourself!!

